How Tencent integrated the Discord Social SDK to deepen squad connections, re-engage players, and grow a thriving community around one of mobile gaming's most demanding games.
Learn more
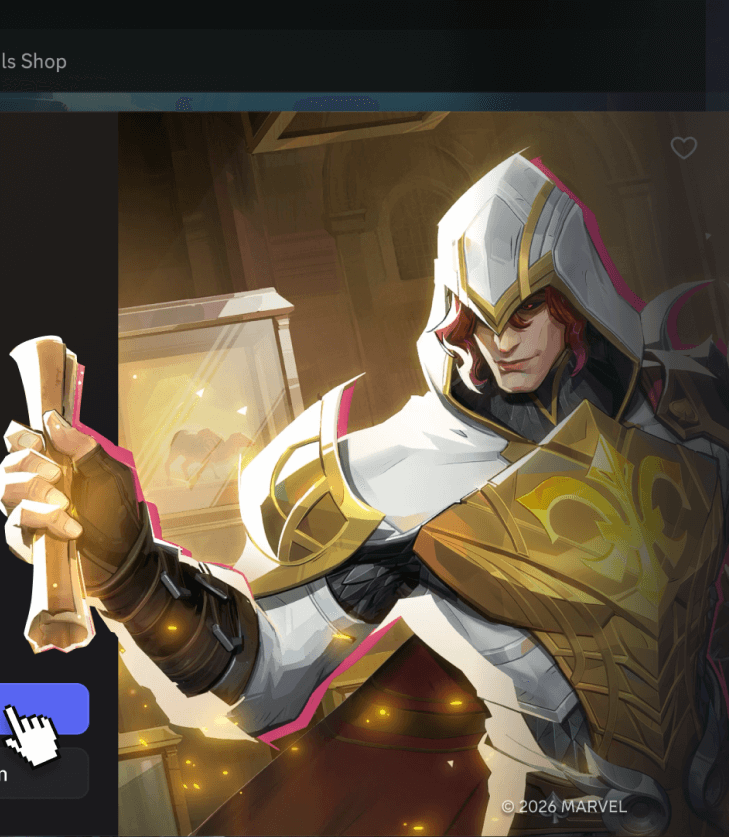
Marvel Rivals
Marvel Rivals
With Social Commerce, Marvel Rivals met players where they were already hanging out, making discovery, buying, and gifting part of the social experience.
Learn more
Battlefield 6
Battlefield 6
EA achieved a record-breaking launch for Battlefield 6 by building a holistic Discord strategy, driving a 29% boost in retention and 4M Quest ad completions.
Learn more
The Messenger / Sea of Stars
The Messenger / Sea of Stars
See how Sabotage Studios used ARGs and custom automation to turn their Discord into a living game world, keeping 16k fans engaged between major releases.
Learn more
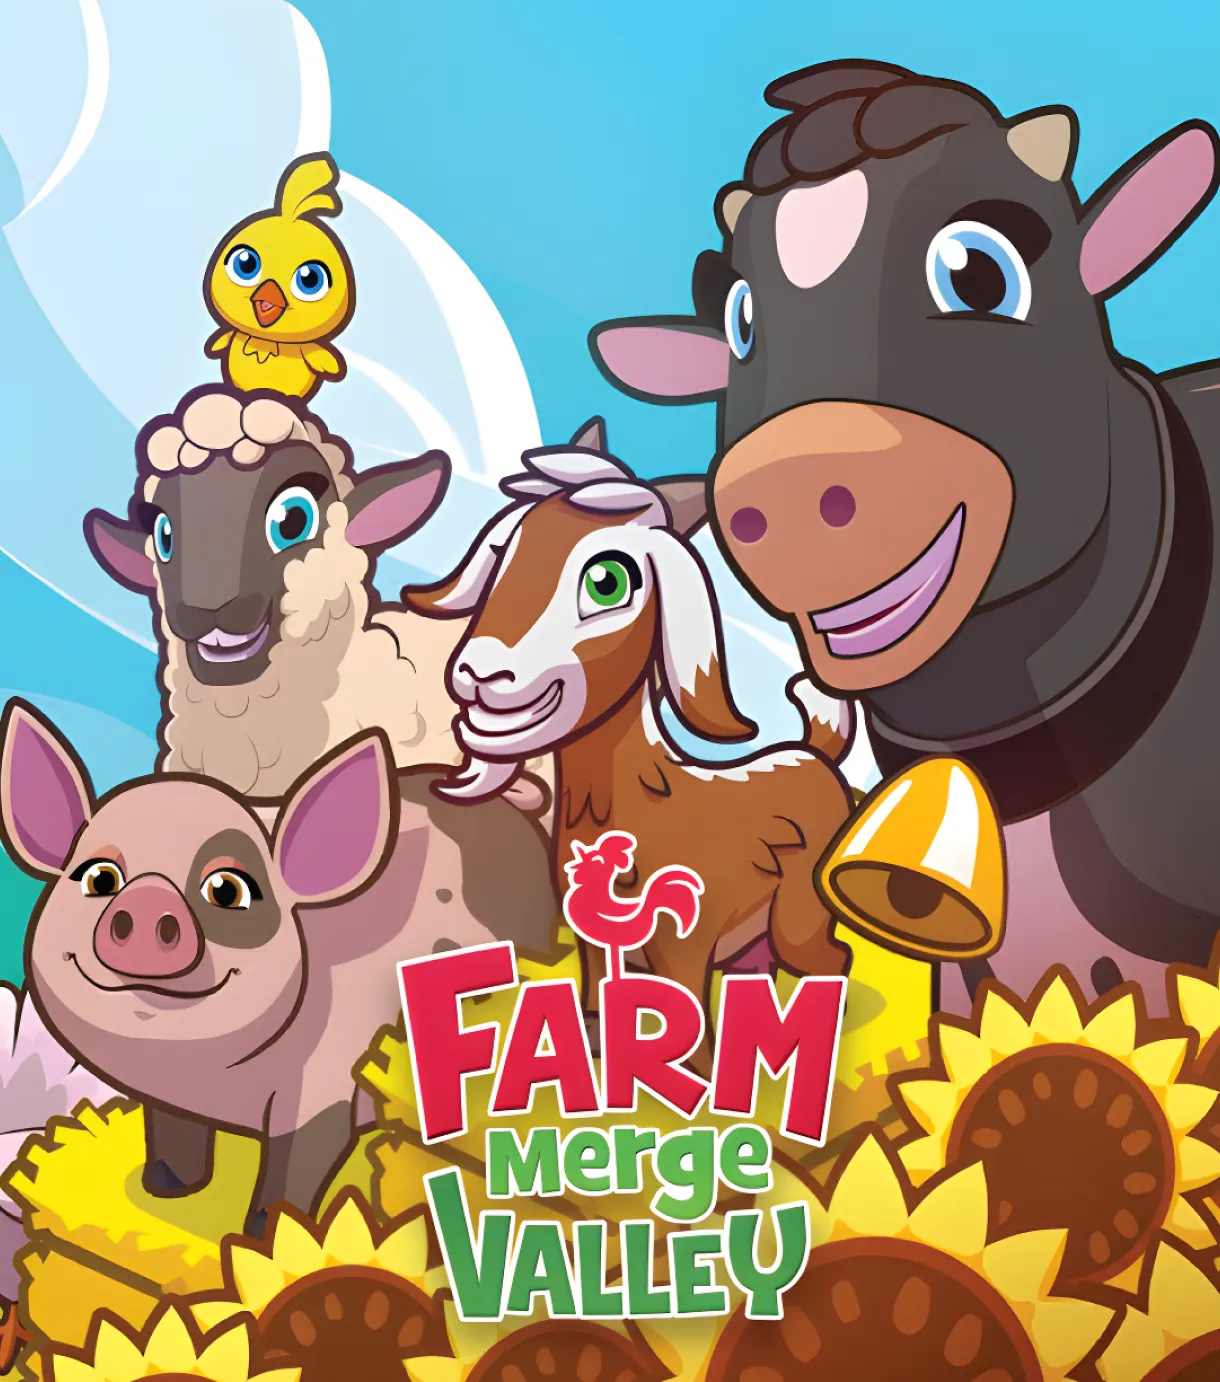
Farm Merge Valley
Farm Merge Valley
Learn how CoolGames leveraged Discord’s social features and payment system to cultivate an active user base and increase the success of Farm Merge Valley.
Learn more
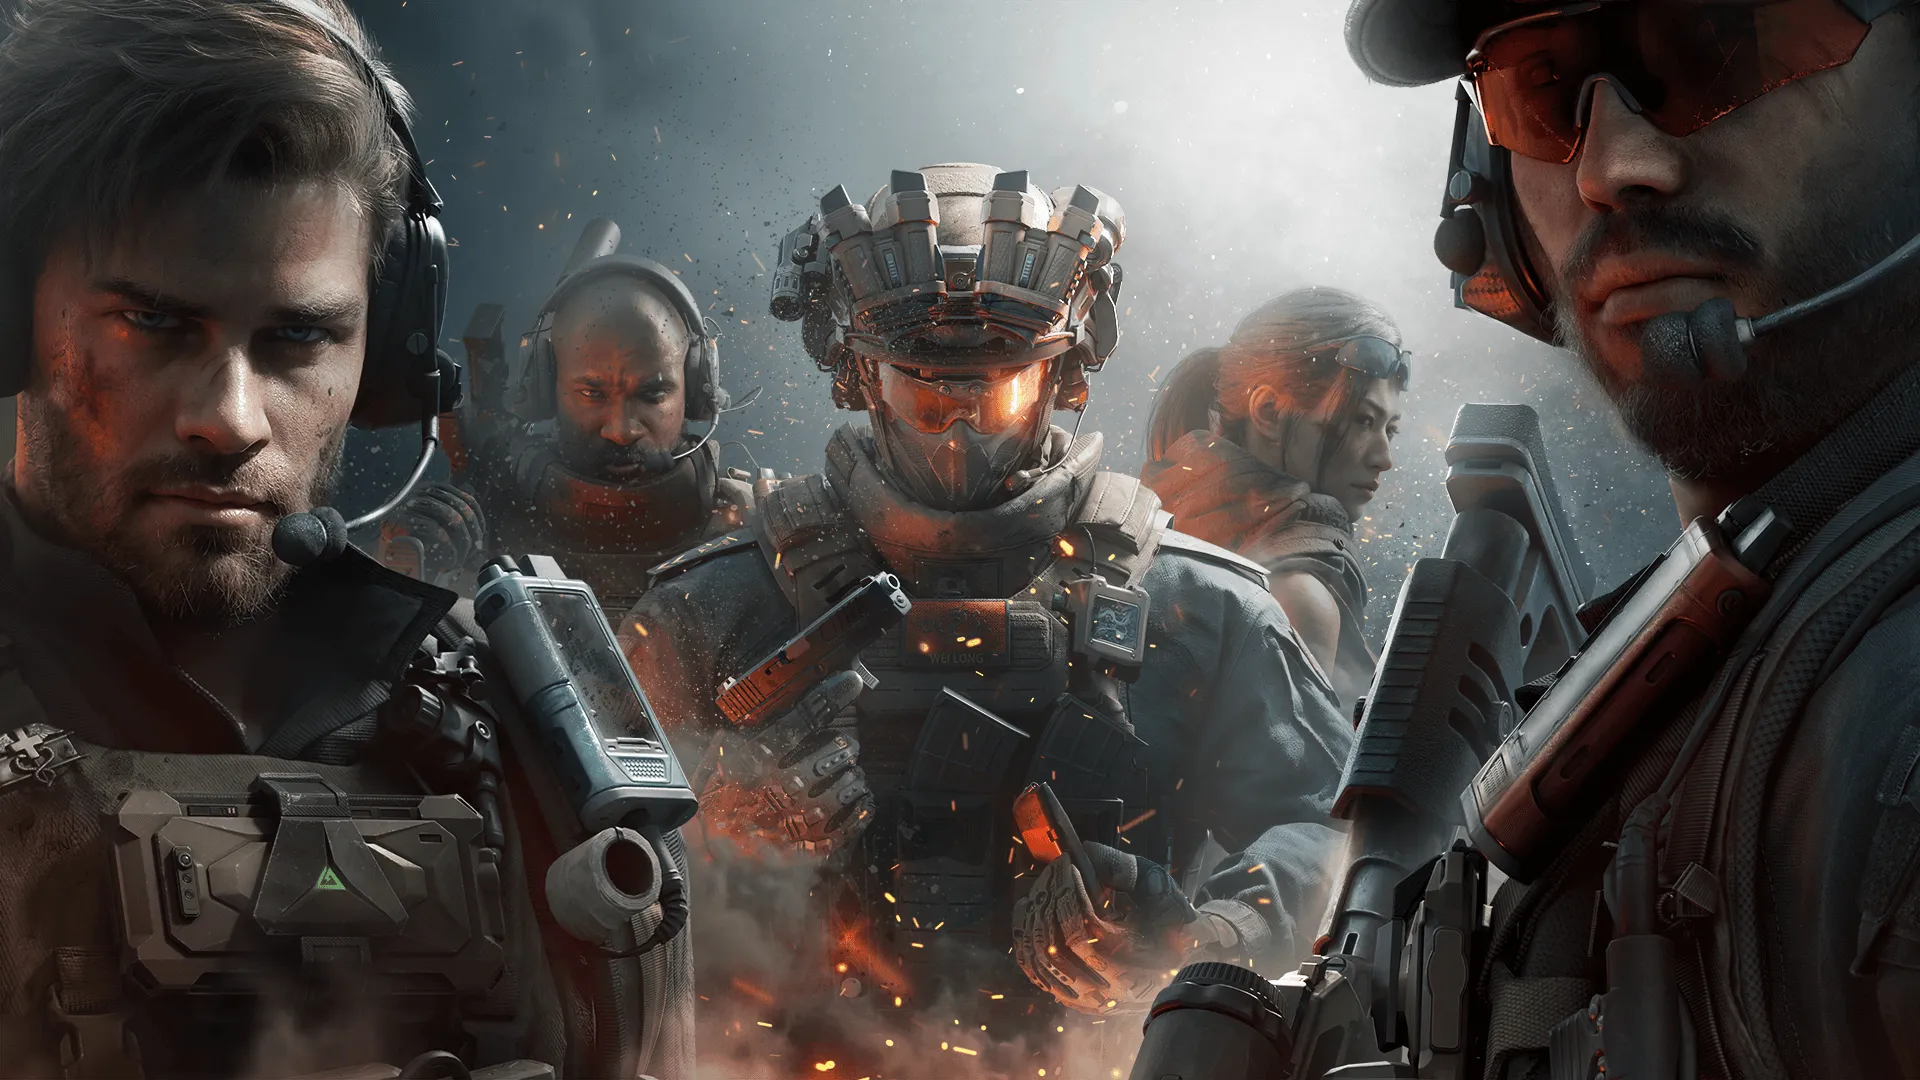
Delta Force
Delta Force
Tencent Games revived the iconic Delta Force IP by using Discord as a massive feedback engine, growing a community of 800k fans before launch day.


.webp)